


Apple AirPods (3rd Generation) Wireless Ear Buds, Bluetooth Headphones, Personalized Spatial Audio, Sweat and Water Resistant, Lightning Charging Case Included, Up to 30 Hours of Battery Life
20% OffIn this article you will get the best ideas to make your own punching bag that will be completely homemade, but that homemade punching bag will be no less than your $200 professional punching bag. So lets DIY your homemade Punching Bag.
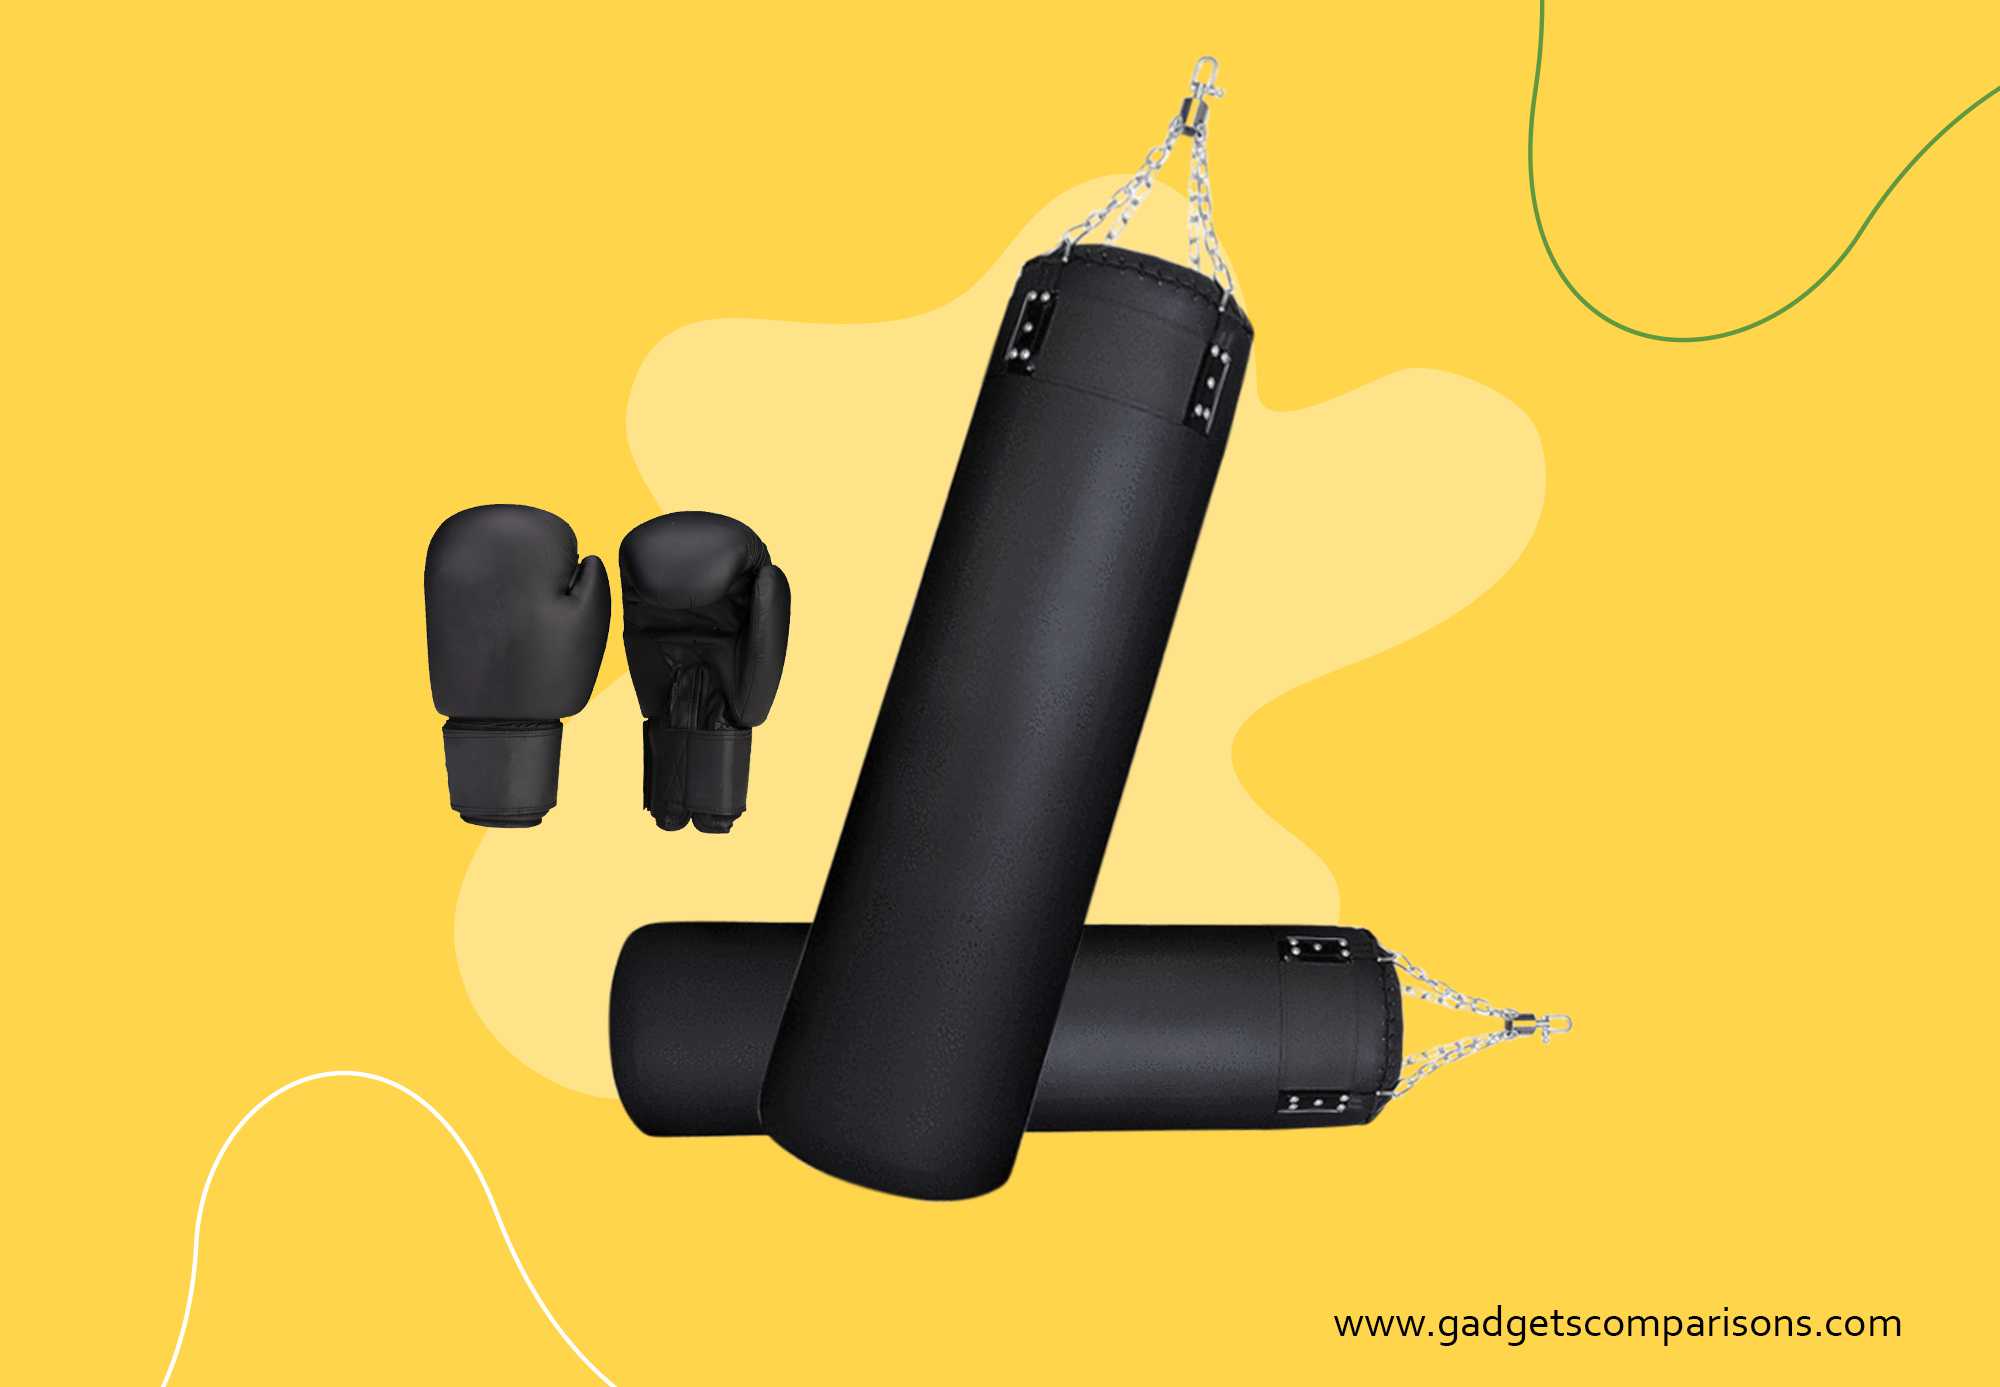
It’s always great to own a punching bag. Especially if you are a boxer or an athlete. The reality is that it is highly expensive to own one. One may not be able to afford it. Secondly, you may want to make it as per your specifications.No matter, Whatever the reason is the first one or the second one. Today here we will guide you, how to make a homemade punching bag.
Method 1.- How to Make a Punching Pad at Home With a Pillow
This is a method to make a punching bag at home. We will use the pillow as a base to make the punching bag and tape to make the homemade punching bag. The things you need to make the punching pad at home with your pillow are.
Required Items
- Pillow – 4 Pieces
- An old piece of carpet
- Saw Dust
- Sand
- Bonding agent to joint the carpet
- Plastic tape
- Polythene Bags of 1 Kg Capacity – 16 Pieces
- Old Cloth pieces to fill the bag
- Chains or rope to hang the bag
- A Hook
- A hammer
- Nylon thread and a long needle.
Step 1.
How to find the correct weight of the Bag?
The appropriate weight and the resistance of the bag varies from person to person. You should calculate the weight as you are making a customized punching bag for you. The weight of the bag can be calculated with the following formula:
Weight of the bag = your weight * 0.5
All the calculations for the weight of this bag must be calculated in pounds. We will make an assumed calculation so that you may understand how this formula will work.
Suppose that your weight is 100 Pounds. Put the value in the formula.
Weight of the bag = 100 * 0.5 = 50 pounds.
You should make a punching bag that should have a weight of at least 50 pounds. It means your filling must be equal to 50 pounds.
Step 2.
Prepare The Fillings
Collect old and useless clothes at your home. Remove the plastic or other accessories like buttons, studs and other hard objects from those clothes.
Cut the clothes into small pieces. Put the pieces into the plastic bag and now weight. This should at least make ⅔ of the required weight.
In case you are short of the old and useless cloth. Go to the old cloth shop and buy some old and used clothes.
Repeat the same procedure with the cloth you buy from the second-hand cloth shop, as to remove the hard materials from the cloth and afterward cut them into the pieces.
Step 3
Make the Sand Bags / Sawdust bags ready
We need to combine 4 pillows to prepare the homemade punching bag ready for the use. This means that we at least need eight bags of fillings to fill up the cavity we have created to create our real tough punching bag at home.
We will prefer four bags, that will be filled with sand and 4 bags that will be filled with sawdust.
To prepare the sand-filled bag and the sawdust filled bag we will follow the following procedure.
Take a polythene bag of 1-kilogram capacity. Fill it with 950 grams of sand. Make four bags of sand filling, follow the same procedure.
The same procedure will be followed to prepare bags of sawdust filling. Now in total, we have eight bags of fillings. Now put one bag of sand and one bag of sawdust in each pillow as filling.
This is important to seal the bag properly once it is filled with the filling. Once the bag is filled seal its open end with the help of the tape.
To ensure complete protection put the filled and sealed polythene bag in an empty polythene bag. Seal it again and wrap it completely with the tape. The bags are ready to put in the bags.
Step 4
Preparing pillows for filling
Check the pillow for any type of leakage or hole. if there is any please repair it. Once repaired and properly checked you can start filling them up.
Step 5.
Start filling the pillow
Now start the filling with cloth strips. After filing 6 inches or quarter cavity, push the cloth strips with the help of a rod. You may use a baseball bat or a hockey if you do not have a rod, even a tennis racket can be used for beating purposes.
This will evacuate any vacuum created or left while filling the pillow. After the beating process and once the filling is settled. Fill some more cloth pieced strips to make it 6 inches. As the beating adds up the compression to the clothes. Now put the sandbag wrapped in duct tape on the strips.
This will make the second layer after the cloth pieces layer. Start again to fit the cloth strips to make the third layer of the filling. As you have completed the 6-inch layer of clothes. Now is the time to compress the cloth with the help of a rod or any other alternative.
After beating the size may reduce again make it 6 inches by adding some more clothes is required. Put a bag of sawdust. Fill the remaining portion with the help of the cloth strips. Seal the pillow with the help of the thread and needle .i.e. sew it tightly and nicely.
Step 6
Fill all the Pending Pillows
Fill up to all four pillows by following the same procedure.
Step7
Final Layering
Wrap the pillows in the carpet. Seal the edges of the carpet with strong tape or an adhesive. Now cover the complete carpet by wrapping it in the tape. As there is no single place left.
Step 8
Final Finishes
Sew the opening and ending of the carpet when and where required . now create a hole two inch above the filled area i.e on the top of the punching bag tug it nicely with a thread and needle. Now your punching bag is ready for practice.
Method two
The second method is an eco-friendly method too. We will make a punching bag by recycling. The material being used can otherwise be a threat to the environment.so get excited We will use old tires to make a punching bag in this method.
Required Items
- Old tires – 4
- Chains or rope to hang the bag
- A Hook
- A hammer
- Nut and bolt to join the tires together
Let’s start the step-by-step guide to make the homemade punching bag with old tires.
Step 1.
Take four tires of the same size. Mark each tire at four different spots; these spots must be at equal distance from each other.
Mark these spots on the outer and inner layers of the tires. The lowermost tire will have only four spots on it. Whereas, the two central tires will have eight marks on it. Four on the upper side and four on the lower sides.
And the same will be the case with the topmost tire that we are going to hang up with the roof by adding chains to it.
Step 2.
Take a drill and carve a hole in every spot. Joint all the tires together with the help of the nut and bolt. Or even you can use strong wires to weave the connection
Step 3.
The uppermost tire holes will be tied together with a set of extended chains. With the help of these chains the tyres will be hanged with the roof or any appropriate place. where you can practice your passion without any extra budget.
Wrapping up
In this article, we have shared with you the two most effective tried and tested methods of making your own homemade punching pad. So now the budget will not come across the way of your passion. Believe me, if you have determination and consistency nothing in this world can beat you.
So just take those waste materials and prepare the best gadget to help you in practicing and practicing hard. So best of luck with your passion and I certainly believe where there is a will there’s a way. So do you!
Do give your feedback that you found the above mentioned ideas effective or not and do share if you have any useful tips for a few more aficionados such as you.


